Physical Address
304 North Cardinal St.
Dorchester Center, MA 02124
Physical Address
304 North Cardinal St.
Dorchester Center, MA 02124


YouTube Shorts has revolutionized the way people view video content. Tutorials, entertainment videos, reviews, and behind-the-scenes videos, among others, have proven to be a great tool to reach out to new audiences. No matter what your background might be – whether a beginner, content creator, or a business owner – learning how to upload YouTube Shorts will be very easy to achieve.
But the best part about it? You do not need high-end cameras or professional editing software and tools to start producing videos. But once you have done this part, you have to learn the next step, which is to upload your video. Title, description, and timing are just some of the aspects that one needs to learn.
Here’s how you can do it easily and effortlessly!
Prior to visiting YouTube, get your video ready. YouTube Shorts accepts square and vertical videos, which can be no longer than three minutes in length. To achieve the best viewing experience on mobile devices, I would advise you to create a vertical video with the 9:16 aspect ratio and 1080 × 1920 pixels resolution.
Try to grab the audience’s attention right at the beginning. In Shorts, users browse videos rapidly, hence there is no need to make an overly long introduction. If you are making a tutorial, then let people know about its main ideas right at the very beginning. If it is entertaining content that you are making, then the beginning should attract people so much that they will stop scrolling.
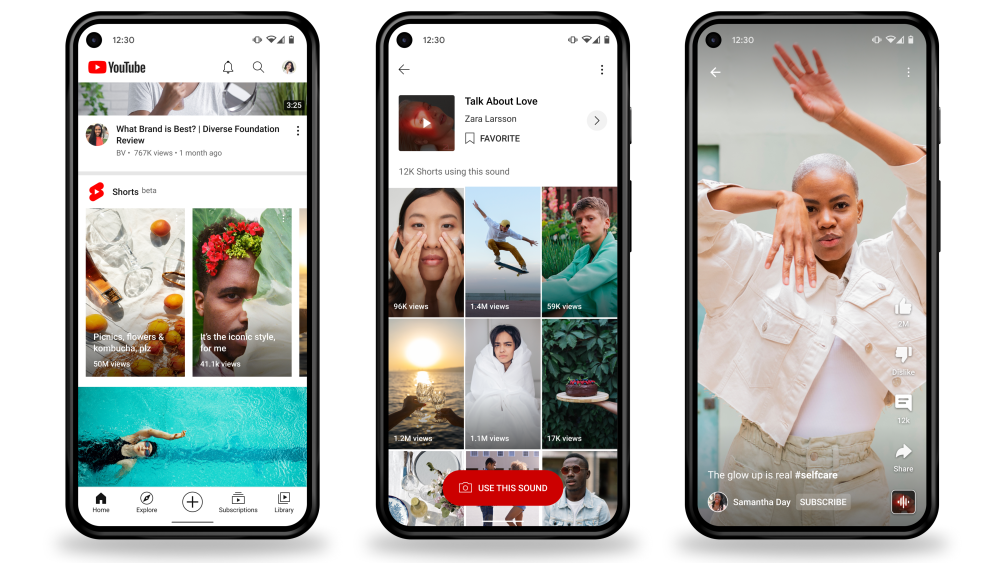
It’s time for the simpler step. Launch the YouTube app on your smartphone, whether it is an Android or an iPhone device. Log in to your account and click the Create (+) icon generally placed at the bottom of your navigation panel. Choose to create/upload a video from there.
You have two choices to make: record a video on YouTube itself or choose a previously edited video from your phone gallery. In case you’re opting for a pre-edited video, choose your video clip and the trimming options available. You may also want to ensure that your video complies with the criteria set by YouTube for Shorts.
As soon as you have uploaded your video, you will get the opportunity to edit your short and make it better depending on the tools available. You will be able to put music, text, filters, voice-over, and many more elements there. Also, you can make changes concerning the time and cut off unnecessary parts of your video.
In my opinion, it is better not to complicate the process. When there are too many transitions and stickers and effects, it only takes the attention away from your message. If your purpose is educational, put some readable text there. If you have entertainment videos, it is necessary to put appropriate music and effects. Just remember what your goal is.
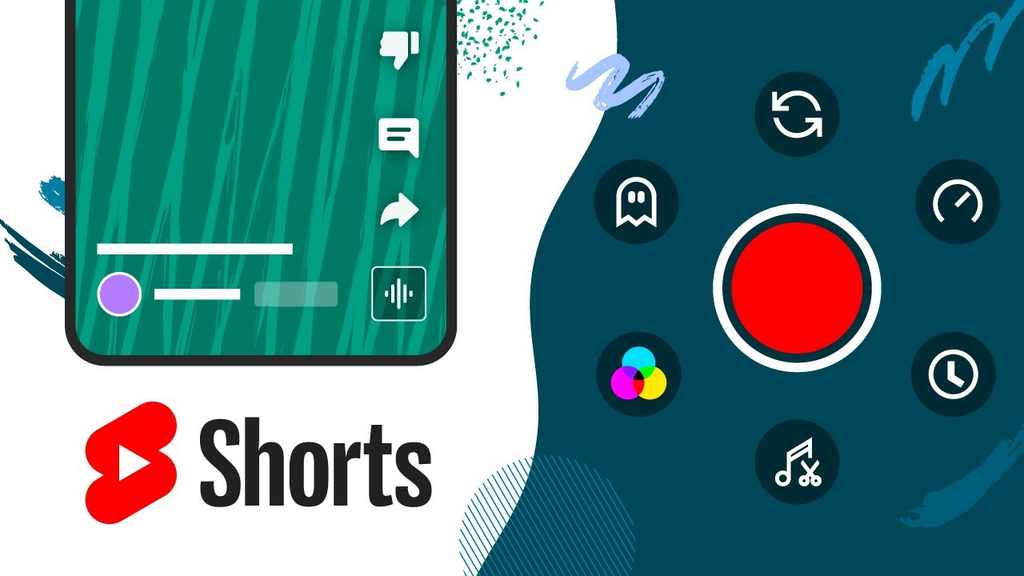
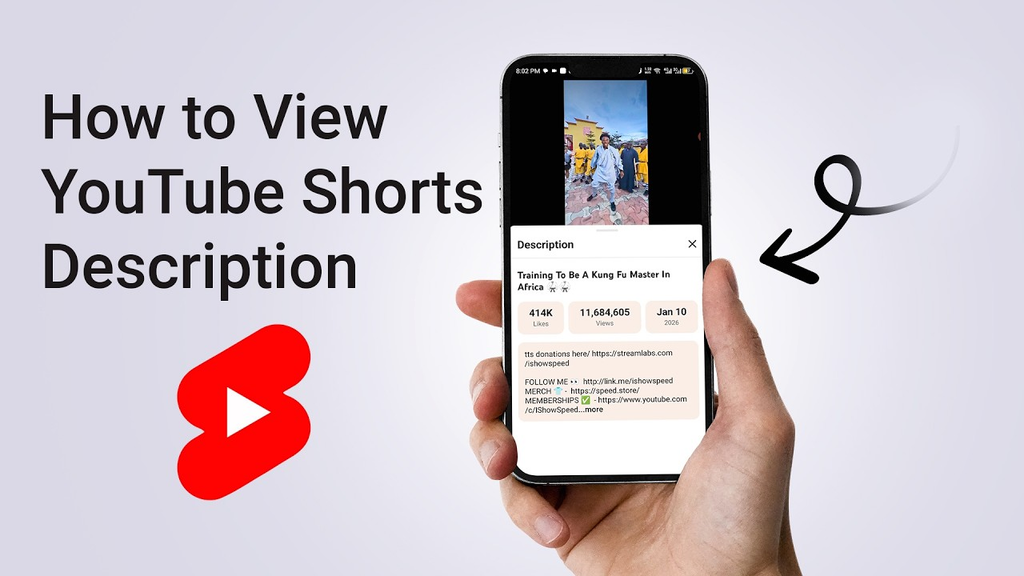
Creating titles and descriptions is among the critical steps in uploading YouTube Shorts. While the Headline will give your viewers an initial reason to check out your video, the details will give extra details about the video.
Create captivating titles by making it attractive and meaningful. Instead of headlines like “My Cooking Video,” consider using a headline like “5 Easy Cooking Tricks You May Not Have Known.” The latter title sounds more interesting and explains the viewer’s expectations. You have up to 100 characters for your title on YouTube, so make good use of them.
Use your video details to briefly describe the contents of your Short. Describe the theme, include the relevant keywords and other contextual information without packing irrelevant search terms in your details. It is advisable to add some hashtags as well, such as #YouTubeShorts or even hashtags relating to your particular subject matter.
Make sure to verify your audience settings before publishing your video. YouTube will ask if your video is made for children, which you need to set according to the nature of your audience and content. This is an important setting since it impacts some features of YouTube.
Moreover, you need to make sure that your content meets the community guidelines and copyright restrictions of YouTube. Never upload videos that are copyrighted or include any banned elements and mislead people. If you use background music, you may use the Shorts Audio Library of YouTube or licensed music. You need to be careful about this if your video exceeds one minute, as copyright issues can cause trouble for your videos.
It’s always better to follow the guidelines not just because of safety but also for building a credible YouTube channel.
After all is set up, check the visibility options of your video. Select between Public, Unlisted, and Private according to whom you would like to have access to your video. For public access of your video, go with the Public option.
Your post can either be immediate or scheduled via YouTube Studio. In case you have a channel, then scheduling will help you keep the schedule of regular posts going. It is advised that you experiment with publishing time by using YouTube Analytics to see when your audience is the most active. There is no perfect hour to publish that gives guaranteed views for all channels; hence, it is better that you rely on the data of your audience.
Lastly, make sure that you check your title, description, audience, and video preview before clicking on the Publish or Upload Short button.
The process isn’t necessarily complete once you upload your video. Make sure that you promote your Short among targeted audiences using your social media pages and other websites or appropriate channels. YouTube’s Community feature allows you to make posts and polls among others.
Be sure to read comments and reply to any questions from your viewers. When someone recommends a new topic that will help to create a new Short, you can take his/her suggestion on board. You can use your analytics to find out more about your views, audience retention rate, and other details about the success of your videos.
Note that creating a successful YouTube channel does not mean making hundreds of unrelated videos.
The process of uploading YouTube Shorts is quite easy, but knowing about the process can help in having a better experience. Whether it’s preparing your video, choosing a catchy title, writing an apt description, or setting up the right publishing settings, every stage plays a role in having a more fruitful upload.
There is no need to wait until everything is perfect; just make your first Short, observe the outcome, and enhance your next one. YouTube offers lots of options for creators, businesses, and beginners alike to share their concepts. So, why wait? Take your phone, make something interesting, and publish your first Short.
1. How do I upload YouTube Shorts from my phone?
Open the YouTube app, tap the Create (+) button, select or record a video, edit it, add a title and description, choose your audience settings, and tap Publish.
2. What is the maximum length of a YouTube Short?
YouTube Shorts can be up to 3 minutes long, provided the video meets YouTube’s Shorts eligibility requirements.
3. Do I need to add a description to YouTube Shorts?
A description isn’t mandatory, but adding relevant details with keywords and a few appropriate hashtags can provide useful context about your video.
4. Can I upload YouTube Shorts from my computer?
Yes! You can upload vertical or square videos through YouTube Studio on your computer, just like uploading regular videos.
5. What is the best time to publish YouTube Shorts?
There is no universal best time. Check YouTube Analytics to understand when your audience is most active and experiment with different publishing times to find what works best.

Share your details, and we will get back to you shortly!
This will close in 0 seconds
Share your details, and we will get back to you shortly!
This will close in 0 seconds