Physical Address
304 North Cardinal St.
Dorchester Center, MA 02124
Physical Address
304 North Cardinal St.
Dorchester Center, MA 02124

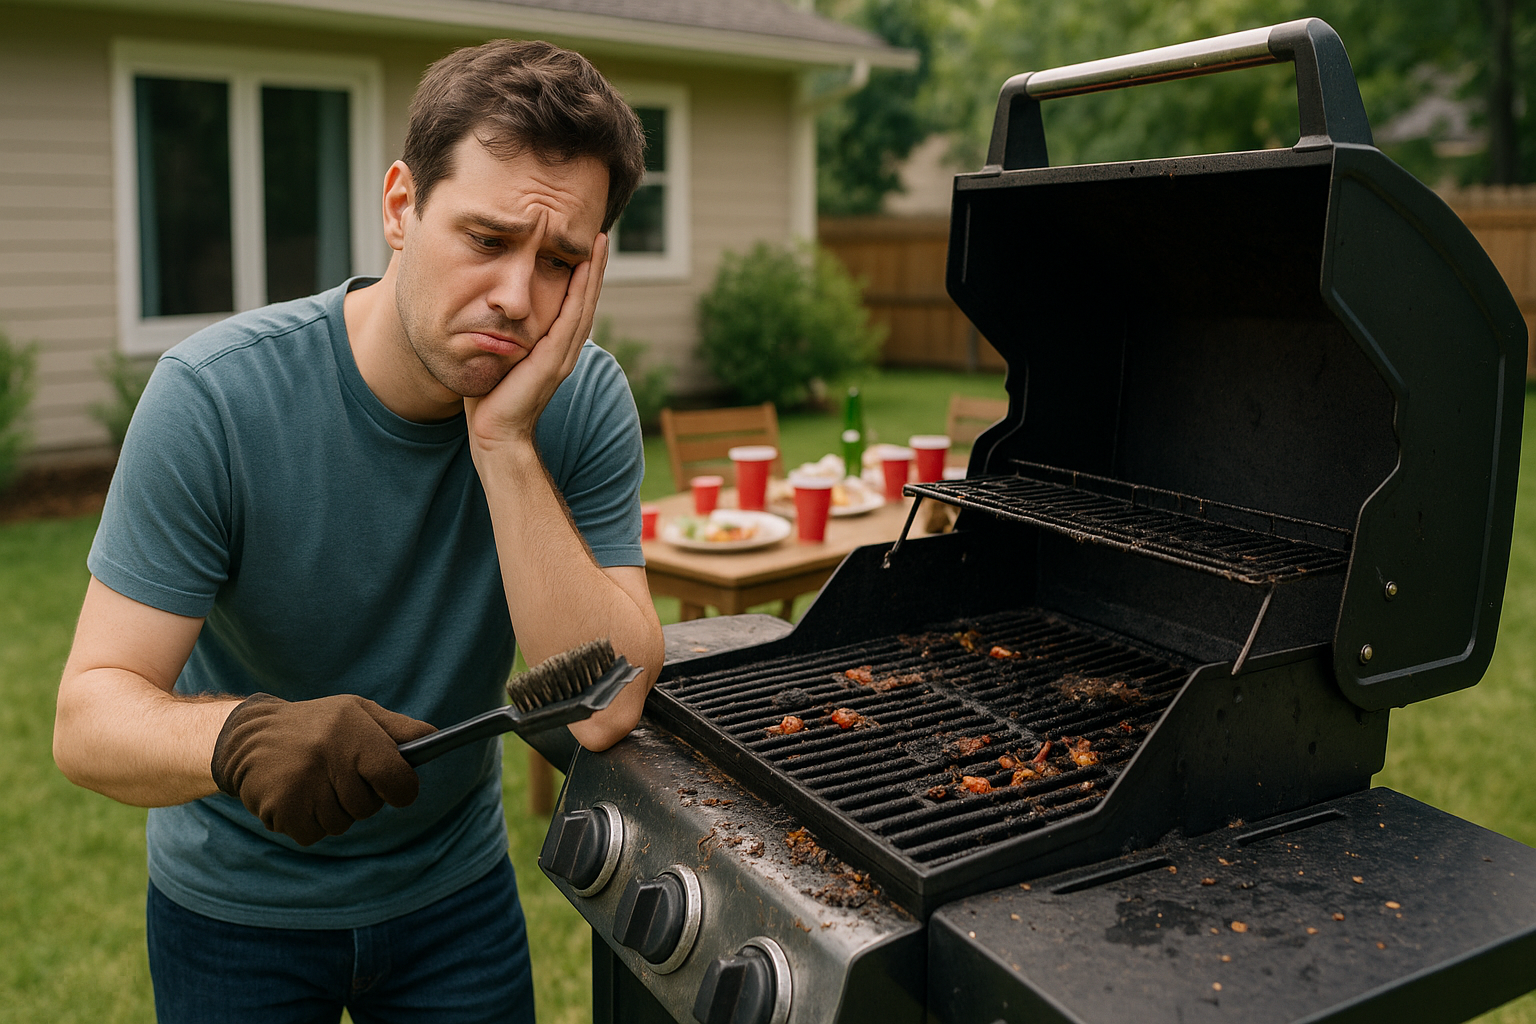
I’m being honest here—cleaning my bar BQ grill was one of those tasks that I always procrastinated. It was the mess, the grease, or perhaps just the idea of scrubbing out in the hot sun after a backyard BBQ outing. But after learning more, I realized that maintaining my grill isn’t so much about aesthetics—it’s about taste, cleanliness, and ensuring that my investment will last for many years.
If you’ve ever been standing over a greasy grill and wondering where to begin, don’t worry, you’re not alone. In this article, I’m revealing 7 surprisingly simple and effective tricks that I personally use to keep my bar BQ grill clean. So whether you’ve just picked one up from a bbq grill sale or you’re using one of the best bbq grills on the market, these tricks will make the most out of every single bar BQ.
This may seem odd, but heat is actually where cleaning begins. I always preheat my grill about 10–15 minutes on high. This burns off extra grease and loosens any sticky food buildup stuck to the grates. Trust me, it makes the rest of the cleaning a breeze.
Once it’s hot and nice, I turn off the grill and let it cool for a couple of minutes—just long enough that I don’t burn my hands while working on it.
Your grates are where the magic (and the mess) occurs. I always take them off when cleaning. It’s the simplest way to access all of the nooks and crannies without spreading the grease everywhere. Just lift them off and pull them inwards towards you.
Taking them out, you’re able to see what you’re working with a lot better underneath—and let me tell you, that space accumulates more mess than you can imagine.

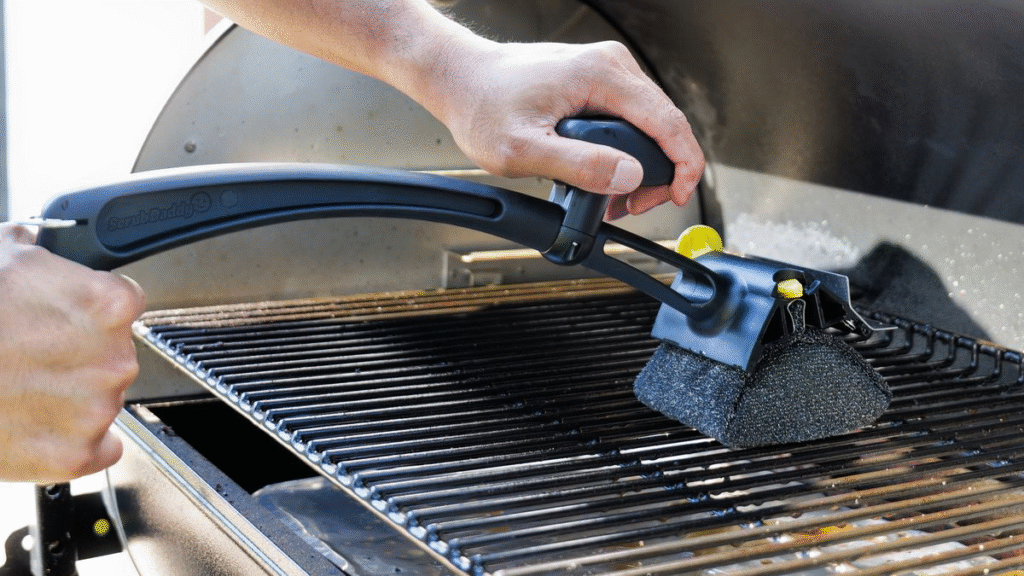
With a decent quality grill brush or scraper, I scrub both sides of the grates. I have found, over the years, that a stiff-bristled brush works best at removing stubborn residue. If it won’t budge, I use scraping method—just be careful not to damage the coating.
This is where most of the elbow grease is expended, but it’s also where you actually get to see your grill start living again.
After I’ve gotten rid of the top level of grime, I prefer soaking the grates in hot, sudsy water for 10 minutes or so. It lets the grease dissolve, and truthfully, it makes that last scrub so much simpler. You don’t need to do too much here—just a standard kitchen sponge or brush will remove the grime after soaking.
This process is particularly handy after having a large outdoor bbq with family or friends, where the grill sees heavy use.
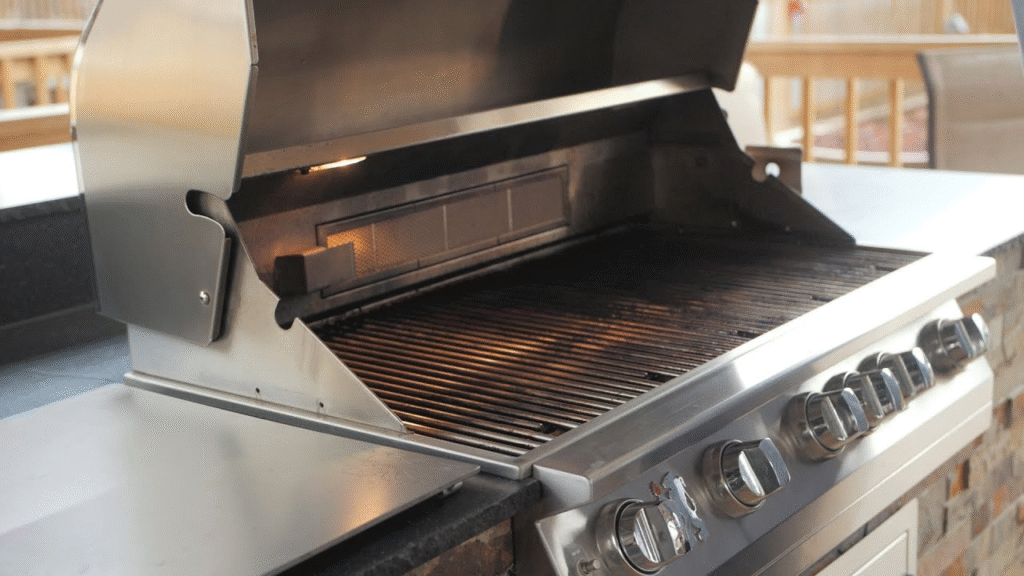
While the grates are wet, I clean the inside of the grill. That means the walls, the lid, and most particularly the burners if you have a gas bar BQ grill. Burners can become clogged or greasy with time, and that messes with heat flow.
A wet towel or a sponge will do the trick most of the time, but if I notice buildup, I’ll clean it all down with mild soap. This keeps your grill running like the high-performance machine that it was designed to be.
No one wants to see a grimy, oily grill in their backyard. I always wipe the outside down with a damp cloth and then warm, soapy water for the tough areas. I make sure to get the handles, knobs, and any exposed surfaces.
If you just purchased your grill at a bbq grill sale, chances are you’d like to keep it fresh-looking, and this step comes in handy quite a bit.
Once I clean everything, I take care to wash off all the soap. Any remaining soap can contaminate your food’s flavor and rust. I dry all the pieces thoroughly with a clean towel—particularly the burners and grates.
Before replacing the grates, I season them by lightly coating them with vegetable oil or spraying a non-stick spray. This not only keeps food from sticking the next time I barbecue but also serves as a rust-preventing protective coating.
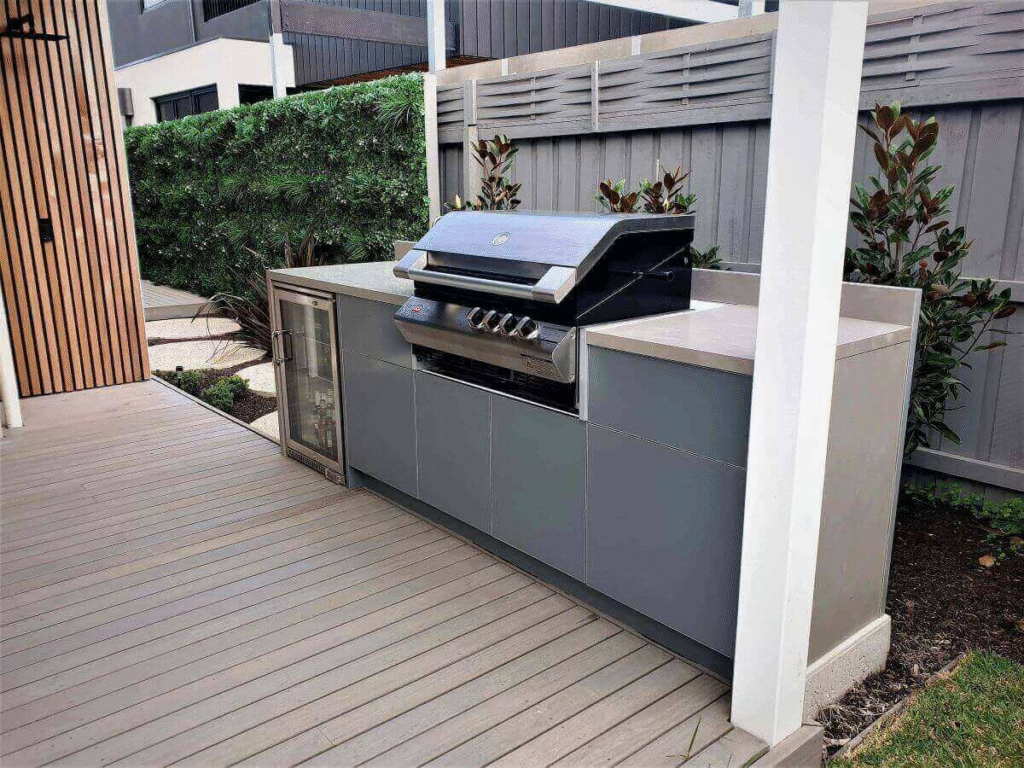
After all is clean and dry, I never leave my grill out in the weather. A weatherproof cover is an inexpensive investment that keeps your grill safe and sound all year round. If you’re using gas, don’t forget to shut off the valve and disconnect the tank before covering.
Whether it’s one of the highest rated bbq grills or a discount starter model from a neighborhood sale, keeping it properly stored means your grill is ready to go whenever you are.
I used to believe that cleaning my grill was merely busywork. But since implementing this easy routine, my food tastes better, the grill operates more effectively, and I actually like grilling. It also protects me from having to spend money on unnecessary repairs—or worse, replacing the entire unit.
And, when I’m surfing a sale on bbq grills or browsing through new outdoor bbq accessories, I know that my grill now is already well cared for and in excellent condition. That alone is worth the extra effort.
Cleaning your bar BQ grill isn’t a task—it’s a vital step in making sure your cookouts are safe, delicious, and enjoyable. Whether you just had a big feast with the gang or a quiet meal with the family, these 7 simple steps will get you cleaned up in no time and back to the good stuff.
If you’re a person who enjoys the scent of smoke, the aroma of sizzling meat, and the pleasure of hosting a backyard bbq, I simply can’t recommend frequent cleaning highly enough. Believe me—you’ll get into the habit and it will become second nature.
Happy grilling!

Share your details, and we will get back to you shortly!
This will close in 0 seconds
Share your details, and we will get back to you shortly!
This will close in 0 seconds